Setting up Findig, step by step
From a fresh account to your first synced orders in about ten minutes. No spreadsheets to import, nothing to install — just follow along.
 Johannes Tebbert, founder of Findig
·
~10 minutes
Johannes Tebbert, founder of Findig
·
~10 minutes
When you sign in for the first time, Findig walks you through a short setup wizard. This page is the same five steps, written out — so you can read ahead, or come back if you get stuck on one.
You don't need to prepare anything beforehand. Findig pulls your products straight from Etsy, so there's no copying, no CSV files, and nothing to type up in advance. You'll mostly be checking that Findig guessed things right and filling in a couple of numbers.
What you'll do
Five short steps. You can skip any of them and come back later — nothing here is set in stone.
Connect your Etsy shop
On the first screen, click “Connect with Etsy.” That sends you over to Etsy's own page, where you log in (if you aren't already) and approve the connection. Then Etsy sends you straight back to Findig.
This is the normal, secure way apps connect to Etsy — you're typing your password on Etsy's site, never on ours. And to be clear about what Findig can do: it only reads your orders and listings. It never posts, edits, or changes anything in your shop without you doing it yourself.

Bring in your listings
Next, Findig pulls in your active Etsy listings. Click the import button and it fetches everything — titles, photos, and all the options buyers can pick (your colours, sizes, and so on).
When it's done you'll see a quick summary, like “Imported 24 listings.” That's your whole shop now inside Findig. From here on, new orders will match themselves up to these products automatically.

Tell Findig how each product works
This is the one step worth slowing down for. Findig needs to know how to count stock when an order comes in — and that depends on what kind of product it is. The good news: Findig makes its best guess for every product, so you're mostly just checking it got things right.
For each product you'll see a few simple things to confirm:
- How does this product work? Pick one: each option is its own item you keep in stock (e.g. one count per colour), it's a set or bundle made of several items, or it's made to order so there's no stock to track. Findig pre-selects its best guess — change it if it's not right.
- Postage cost. What you pay the carrier to send one order (the stamp or label) — not what you charge the buyer. This helps Findig work out your real profit later. You can leave it blank for now.
- Material cost. Optional — what the materials for one item cost you to make. Also feeds your profit numbers. Skip it now and add it later if you like.
- Your options. Findig shows the colours and sizes it pulled from Etsy. You don't type these in — they come from your listing. When an order arrives, Findig deducts the matching one from stock.


Enter your starting stock
Now tell Findig how many of each thing you have right now. Go down the list and type in the counts — “12 blue, 5 red, 0 green,” and so on.
Don't have exact numbers handy? That's fine. Leave them at zero and fix them later — Findig will still track every sale from today onward, and you can adjust any count anytime on the Stock page. The point is just to give it a starting line.
Finish up & sync your first orders
Almost done. You'll pick a light or dark look (purely a preference — change it anytime in Settings), and you can switch on a daily low-stock email so Findig quietly tells you when something's running low. Both are optional.
Then hit “Sync my first orders.” Findig pulls in your recent Etsy orders, matches each one to the right product, and deducts the stock. That's setup finished — you're looking at a live picture of your shop.
Where everything lives once you're set up
After setup, here's the lay of the land. Everything's reachable from the menu, and you never have to touch setup again unless you want to.
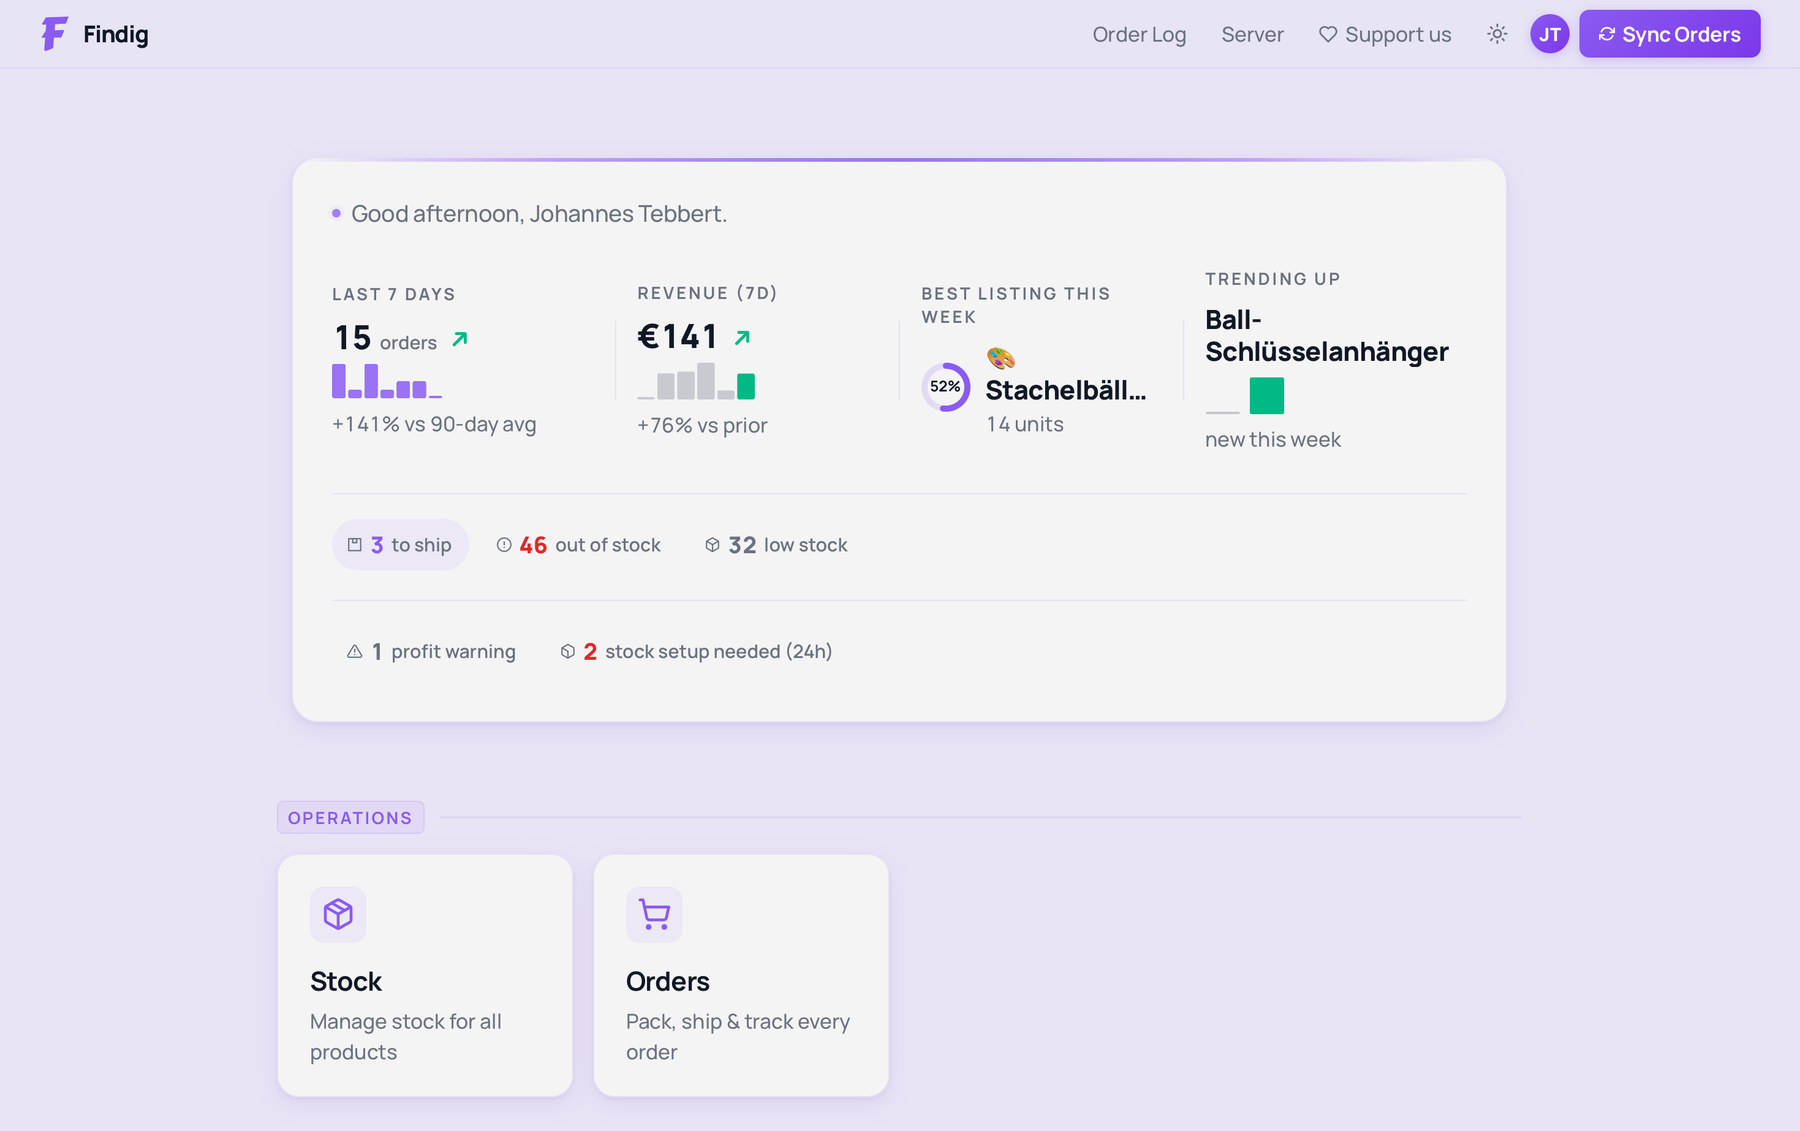
Home
Your dashboard — a quick health check of the shop and anything that needs attention.
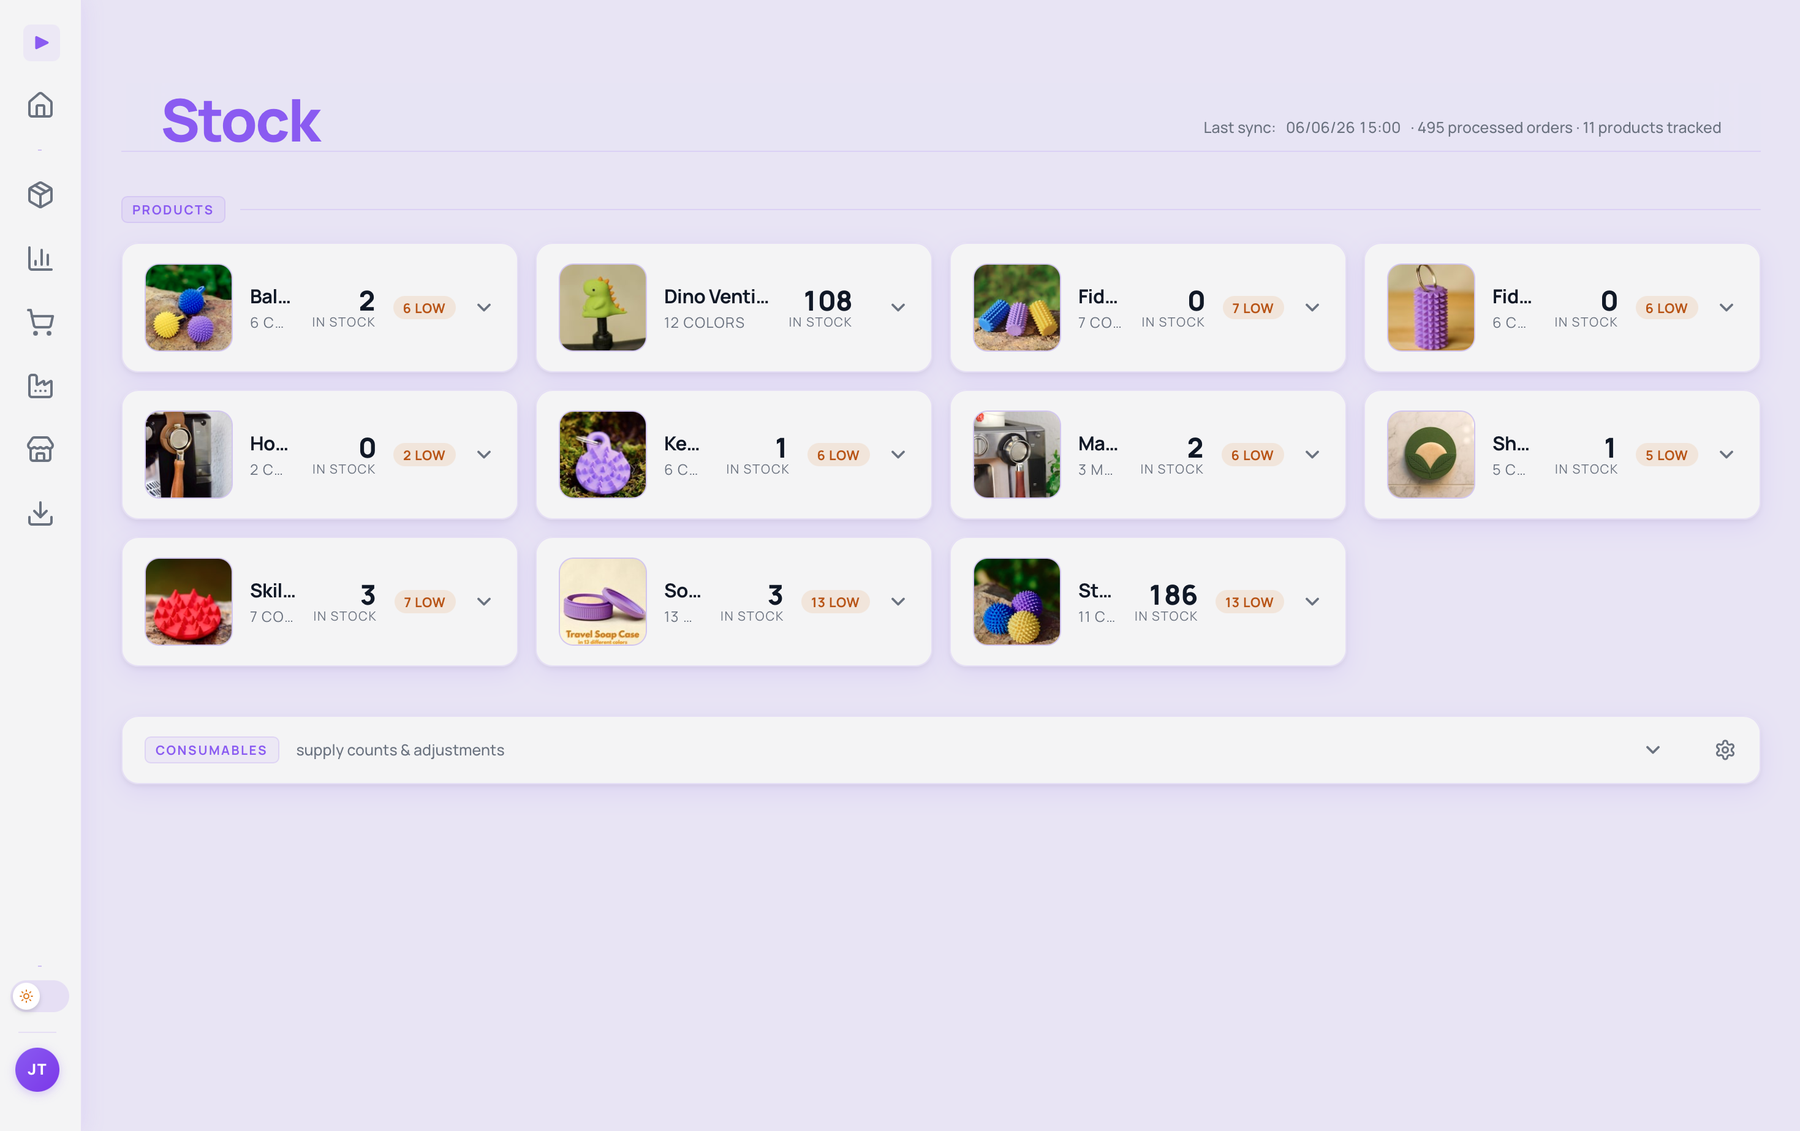
Stock
Every product and how many you have, by colour and size. Adjust counts here anytime.
Orders
Everything that came in from Etsy. Set up your own statuses — like “Printing” or “Packed” — to match how you actually work.
Statistics
Your real profit after Etsy's fees, payment processing, postage and materials — per product and over time.
Planner
What to make next, based on what's actually been selling, so you restock before you hit zero.
Listings
Fine-tune any product — bundles, packaging, and per-option costs. The deeper version of Step 3.
A few things worth knowing
- New orders come in on their own. Findig keeps pulling fresh orders from Etsy, and there's a Sync Orders button if you ever want to grab the latest right now.
- Findig never changes your Etsy shop. It reads your orders and listings — it doesn't post, relist, or edit anything for you.
- Nothing is permanent. Costs, stock counts, how a product works — all of it can be changed later. Setup is just a starting point.
- Your data lives in Germany, encrypted, and it's free during the private beta.
Stuck on a step?
If something doesn't look the way this guide describes, or you're just not sure what to pick — send me a message. I read everything and reply personally, usually within a day.
Send me a message →